
Projects In Progress | 6x8 PNW Travel Album
6:00 AM
Over the course of the next few weeks, I'll be sharing all of my projects that I have in progress and hope to finish up before the end of the summer. This travel album initially started off as a 9x12 but I just wasn't happy with it so I dismantled it and decided to go with a 6x8 album instead. Currently it is in a Simple Stories black and white striped SNAP album from Scrapbook.com. (As of this post, they're on sale for $8.74) This album is also available in pink, yellow and blue and I might end up using those colors for other travel albums down the road.

As you can see she's quite the chunky monkey and I don't even have everything in it yet. As with my 'nothing new' mantra this year, I'm using up what I have which includes mostly Studio Calico items.

I went through my stash of cards and pulled out anything I thought might work with this album. The two sets of stamps, some wood grain washi, clear brown alpha, die cuts, chipboard stickers and the Explore card from Jamaica (Explore mini album class found here) round out my supply stash.

I've been hoarding that Explore button set FOREVER and am psyched that I get to use it.

A little background about the album: Mom and I went on a trip to Washington in May of 2014 (yes, you read that right. FIVE years ago.) We did the 101 loop around the Olympic Peninsula, hitting up Port Angeles, Forks and La Push and then made our way down to Mount St. Helens. After that we spent the night at Mt. Rainier and our last day had us exploring Seattle. I can't wait to go back.

On every trip I take I make sure I have some sort of container to keep all of the stuff I collect. For our Washington trip I kept the zippered plastic bag that sheet sets come in. It's the perfect size because you can jam quite a bit of stuff in there. I also make sure I add a pack of sticky notes and a Sharpie to make notes if I need to.

For our cruise, I brought individual 9x12 envelopes plus a few of the clear zippered pouches from my old Studio Calico kits. I wanted to keep all of my days separated and it worked like a charm.
Travel tip: Keep a file in your notes app on your phone and do a quick journal entry throughout the day. This saved my ass so many times.
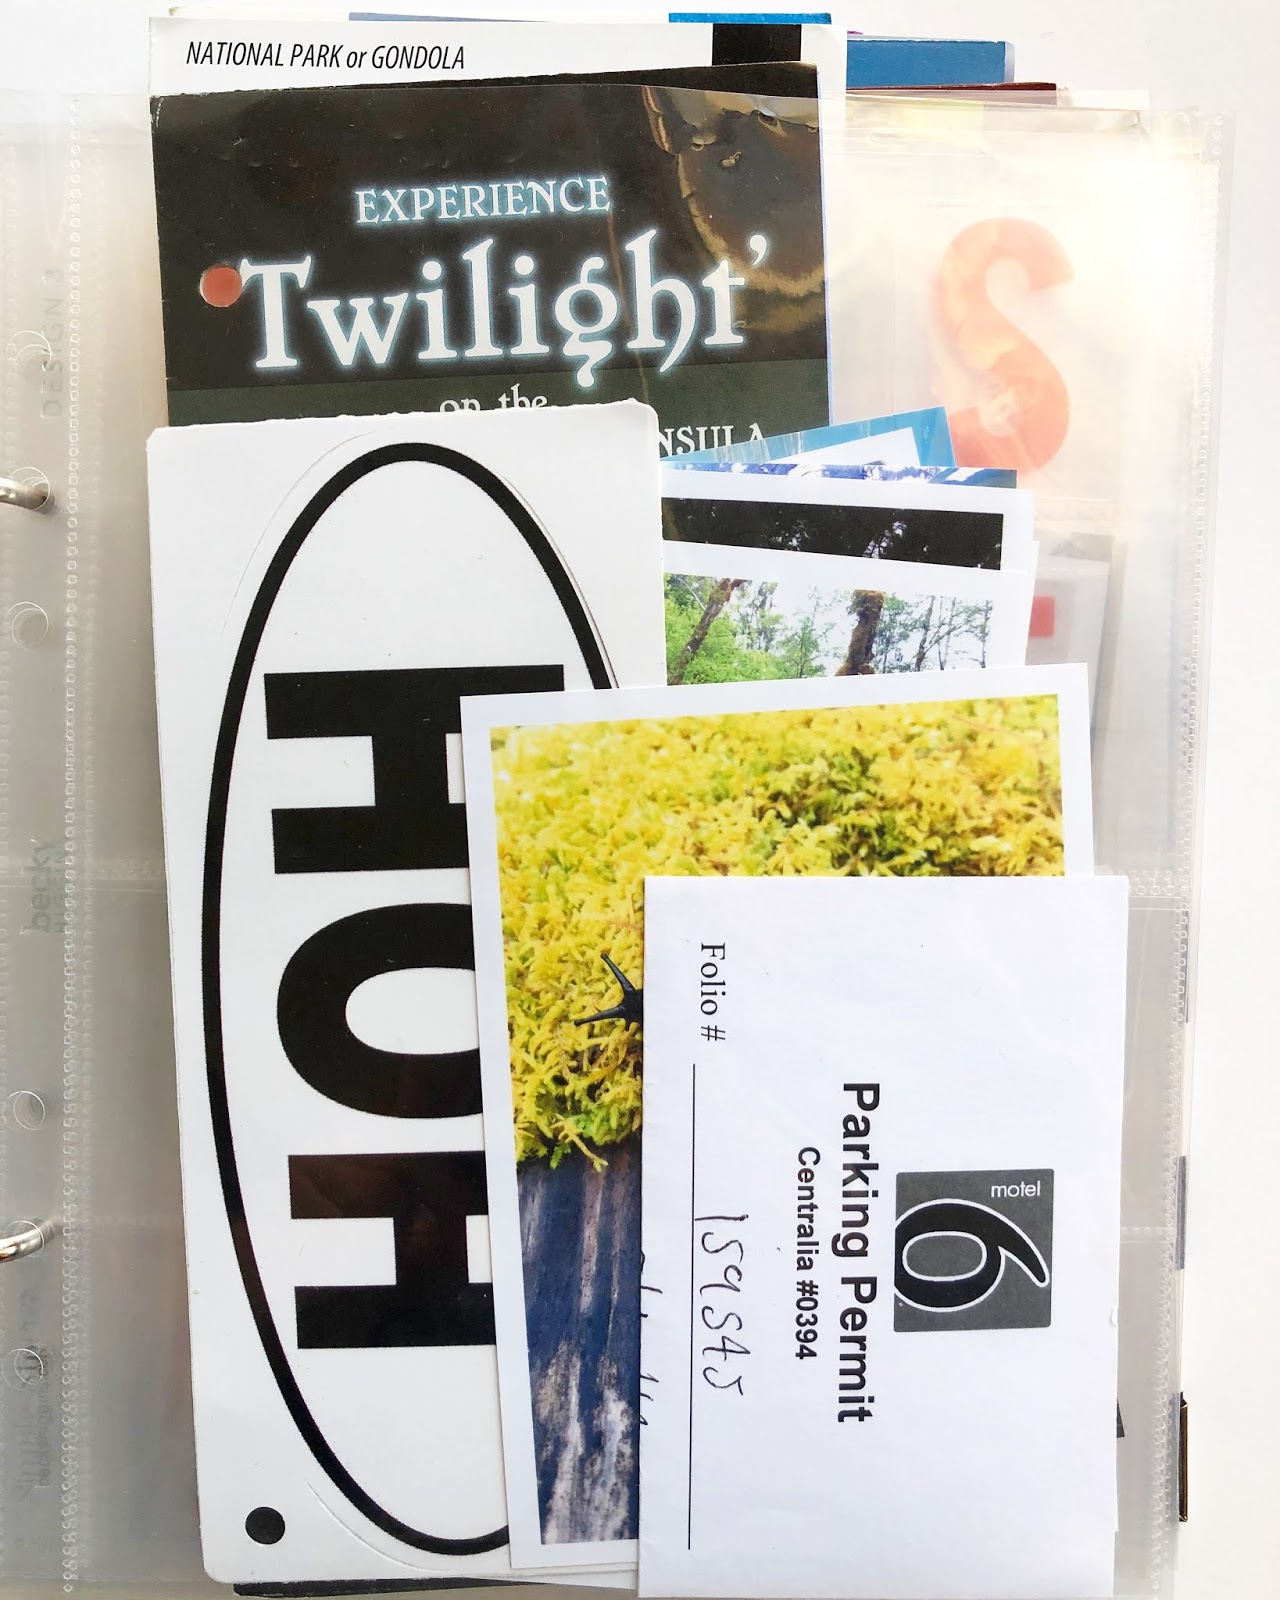
One of the first things I did when starting this album was to lay everything out by day. It makes putting your album together so much easier. I do have some larger pieces that might not make it into the smaller album so I have a memory box that I can keep them in. (DIY post on that coming soon.)

I have a tendency of collecting too much stuff and I'm ok with that because it gives me more leeway when it comes to deciding what to put in the album. Stickers, postcards, business cards, beer coasters, receipts, brochures... I keep it all.

I still need to go through my photos and figure out which ones I'll use. All of the photos shown here are from my old album and are not the correct size. I might be able to work a few in, but we'll see. If you don't want to print your photos at home, I highly recommend using Persnickety Prints. They do amazing work and I used them to print all of my photos for the initial album.

To keep things cohesive, I mapped out what page protectors I'll be using. Each day will be as follows:
* 2x2 grid page with red plastic letters
* full 6x8 photo
* 3x8 protector
* 3 card page protector (2 3x4, 1 4x6)
* 4 card page protector (4 3x4)
There will be odds and ends thrown in outside of page protectors just to mix things up. I need to purchase some more page protectors, along with two more sets of the orange letters from Crate Paper.
So that's it for set up and plans for this album. Stay tuned for my 2017 9x12 Cruise album plus my foundation pages for May's Week In The Life.
Happy scrapping!


0 comments